At Twins at the Table, we love pie! And over the years, we’ve made quite a few crusts. We’ve wondered—which pie crust method would truly gives us the flakiest, tastiest crust? So we put it to the test: The Traditional Pie Crust method versus the Non-Traditional Pie Crust method. Here’s everything we discovered.
Traditional Pie Crust Method
The traditional pie crust recipe method is one you’ve likely tried before. It’s classic, straightforward, and time-tested, perfect for when you want that familiar pastry flavor and texture.
How We Did It:
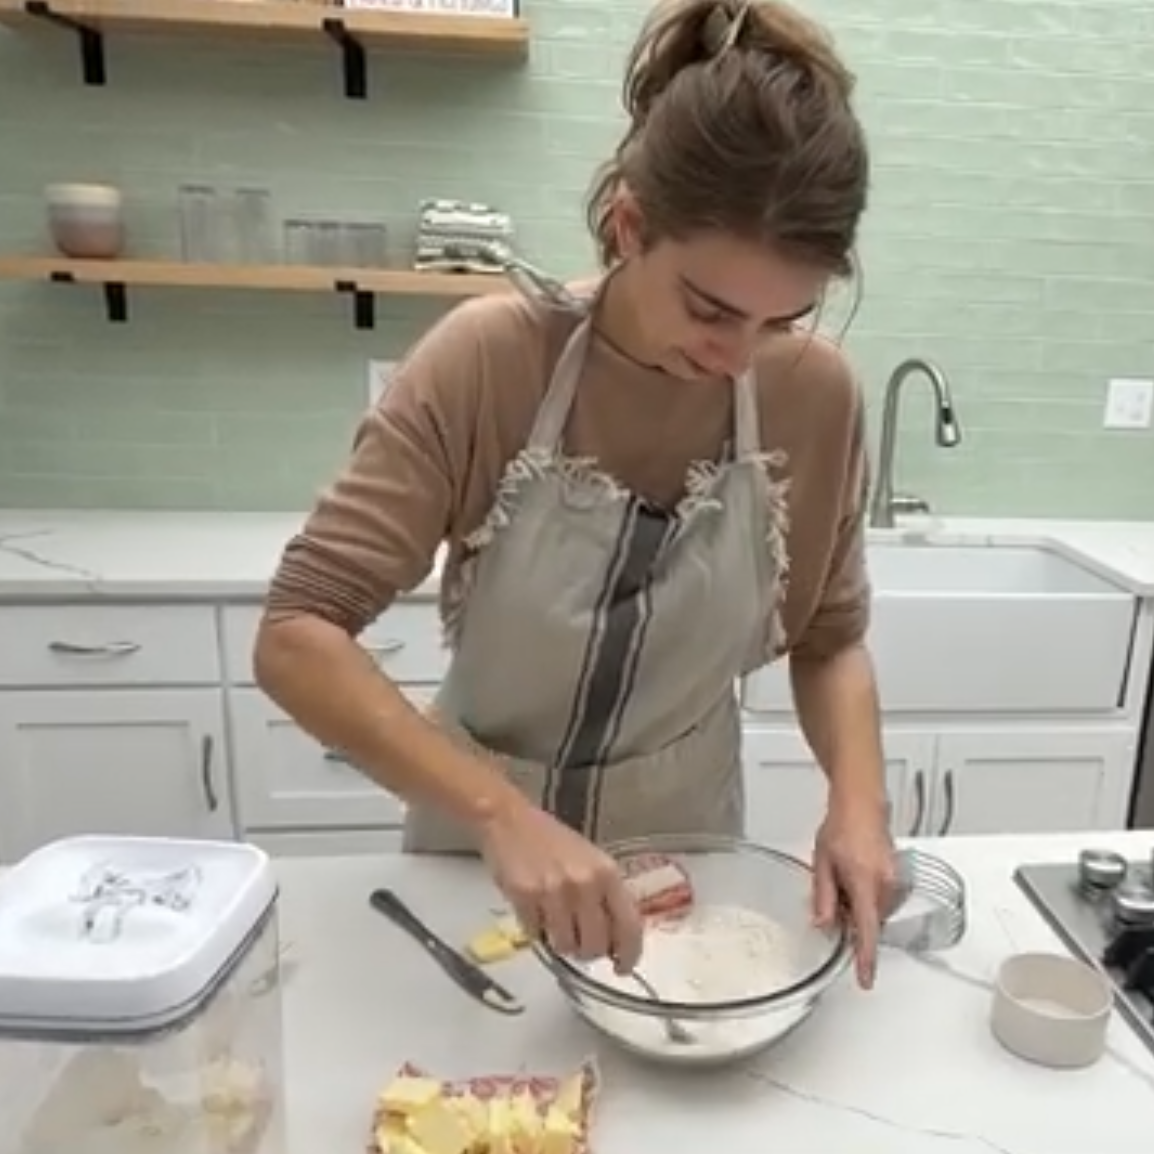
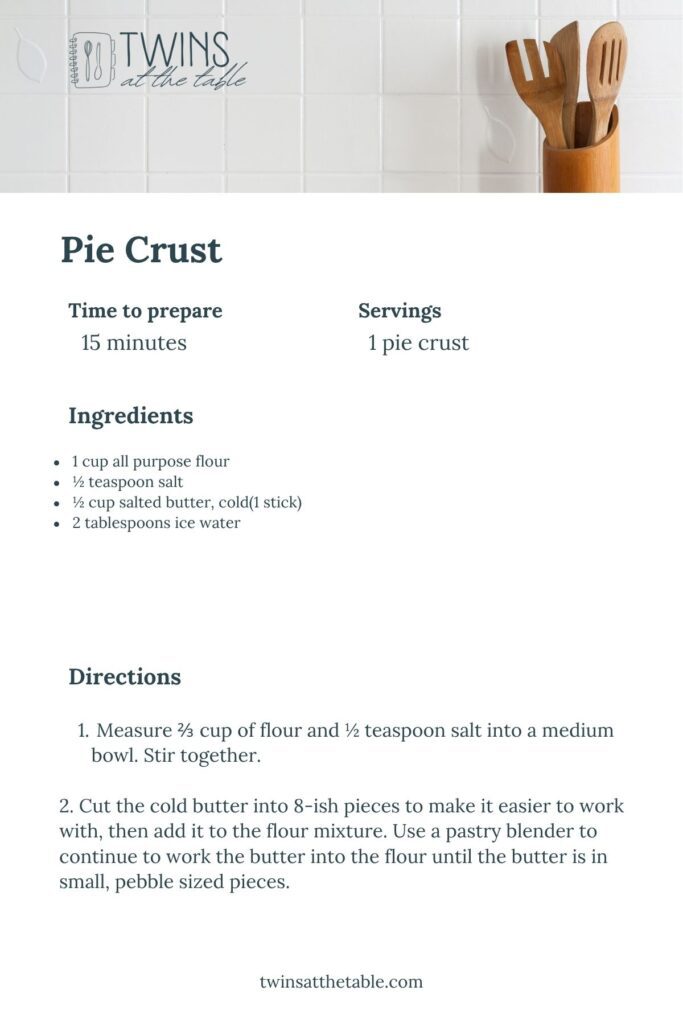
- Mix: Combine the full amount of flour and salt.
- Cut-in Butter: Work in cold diced butter carefully. Important: stop blending while still leaving visible, pea-sized pieces of butter that create flaky layers.
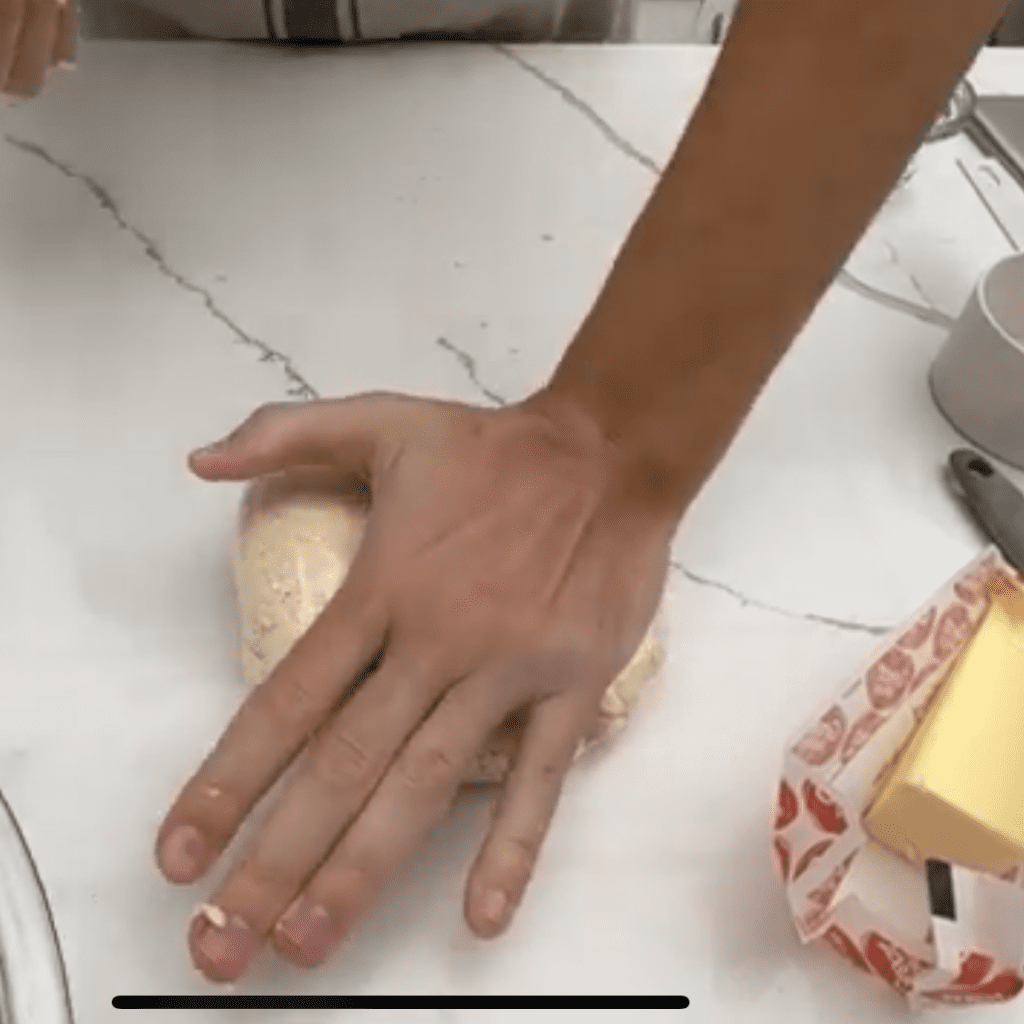
- Add Ice Water: Use just enough ice water to bring the dough together—not too much to avoid toughness.
- Chill: Wrap and chill dough in the refrigerator for at least 30 minutes before rolling out.
New to cooking? Understand cooking terms, basic cooking skills and more inside our From Prep to Plate Video Course here: https://twinsatthetable.com/from-prep-to-plate-course-learn-how-to-cook/
Non-Traditional Method (Modern Version)
This newer method intrigued us with its slightly different approach—would it create a better texture?
How We Did It:
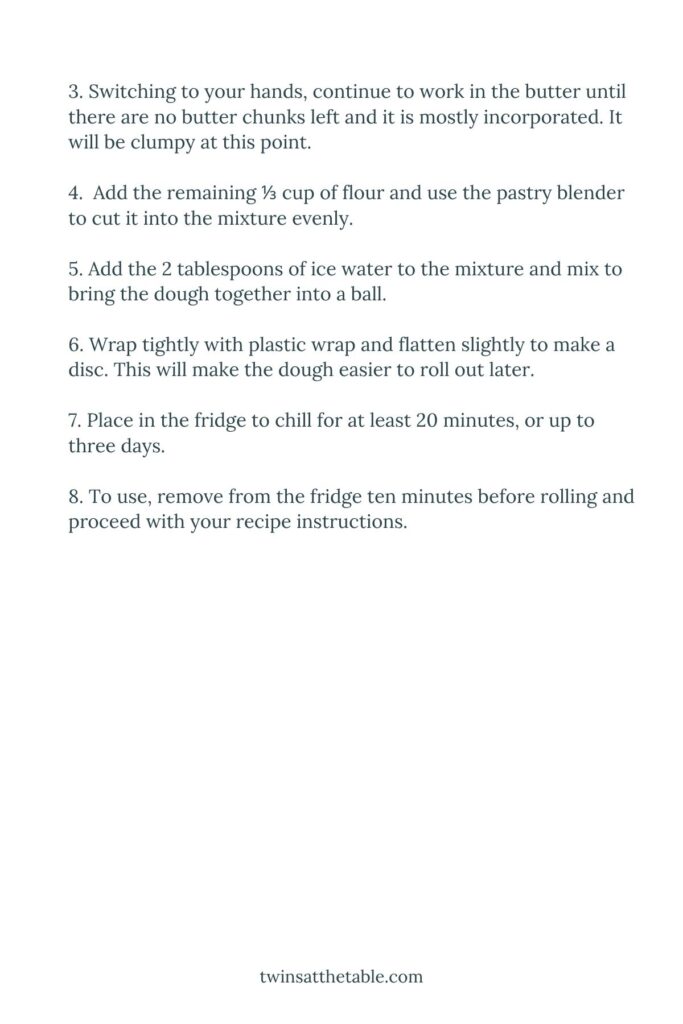
- Partial Flour Mix: Start with about two-thirds of the flour and all the salt.
- Butter Blend: Cut in the butter similarly, stopping at pea-sized chunks—but then blend further by hand until nearly homogenous.
- Finish with Remaining Flour: Add the rest of the flour and gently mix until just evenly distributed.
- Incorporate Water: Carefully add water, using significantly less than the traditional version.
- Chill: Like before, chill thoroughly in the fridge.
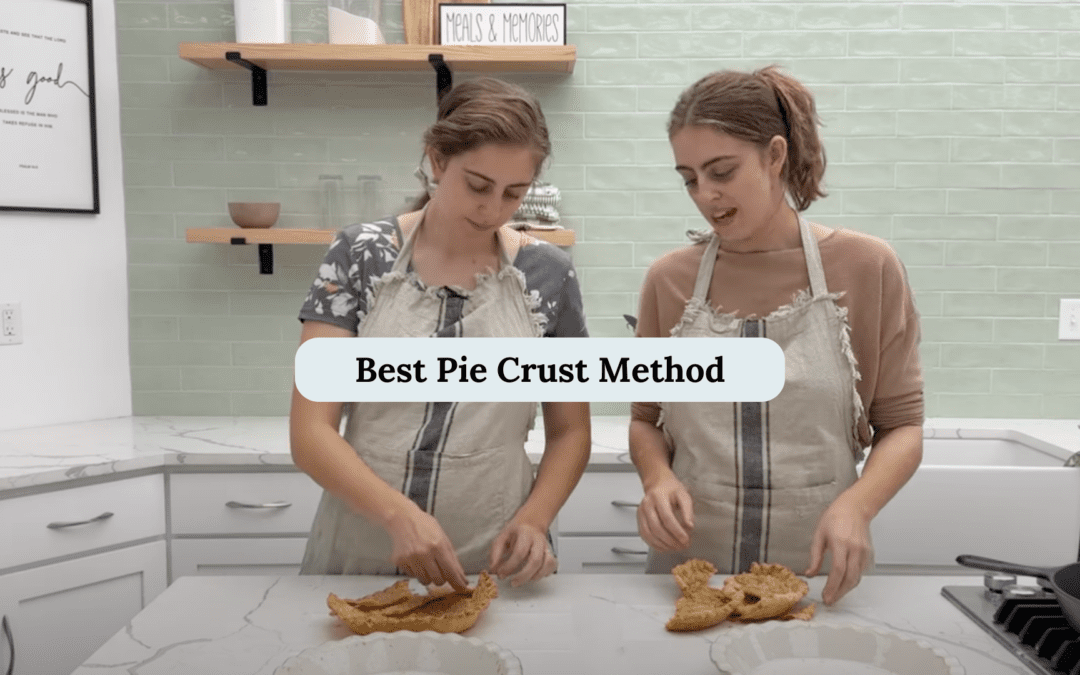
Rolling Out Best Pie Crust Method: Side-by-Side
Now, here’s where we noted big differences!
- Non-Traditional Crust: Stayed firm (even after 10 minutes at room temperature), harder to roll, cracking slightly, and needing patching up from time to time.
- Traditional Crust: Surprisingly soft and pliable; it was super easy to roll and shape, holding together effortlessly without major cracking.
Baking Results
After baking, the results were immediately noticeable:
- Traditional Crust: Baked to a golden-brown color but left quite a bit of melted butter pooled at the bottom. The crust texture, though flaky and crunchy, was unfortunately tougher and harder to chew.
- Non-Traditional Crust: Also beautifully golden, but much lighter, flakier, and notably more tender. It was definitely easier to eat, while still buttery and flavorful.
Final Taste Test Verdict: Pie Crust Recipe
We both agreed that the non-traditional pie crust recipe method edged out the traditional crust overall. It offered:
- Tenderness: Easier bite and smoother mouthfeel.
- Flakiness: Multiple visible layers and light, airy texture.
- Flavor: Delicious buttery taste without feeling overly saturated in butter.
While traditional crusts yield crunch and flavor, the challenge is balancing crispness with tenderness. The more modern approach made achieving the ideal balance easier, resulting in crusts that were less fussy, tastier, and simpler to handle.
Our Recommendation for Best Pie Crust Method: Go Non-Traditional!
Of course, both methods are solid choices, and you can’t go wrong serving a pie with either type of crust. But if you’re looking for consistent results with the better texture and incredible flavor, we strongly recommend the Non-Traditional Pie Crust method.
Give it a try for your next pie, and watch it disappear slice-by-slice!
Happy Baking!
Beth & Katie | Twins at the Table
New to cooking? Understand cooking terms, basic cooking skills, and more inside our From Prep to Plate Video Course here: https://twinsatthetable.com/from-prep-to-plate-course-learn-how-to-cook/